Connecting Calendly and Pipedrive: Automating Workflow with Zapier
Learn how to automate data transfer between Calendly and Pipedrive using Zapier, streamlining your client relationship management tasks.
Q. I want to connect two external apps together. In a previous article about building RPAs that run automatically, you walked through connecting two apps together using Power Automate. My apps are not in that platform, but I understand Zapier offers more options. Can you guide me through connecting these two apps in Zapier?
A. While Power Automate excels within the Microsoft ecosystem, its selection of connecting apps is limited compared to Zapier, which is recognized for a broader range of integrations.
This tutorial addresses a common issue: when a Discovery Meeting is scheduled on Calendly, related data must be manually entered into Pipedrive, a CRM tool. Automating this process can save significant time and reduce the potential for errors.
Setting Up the Automation
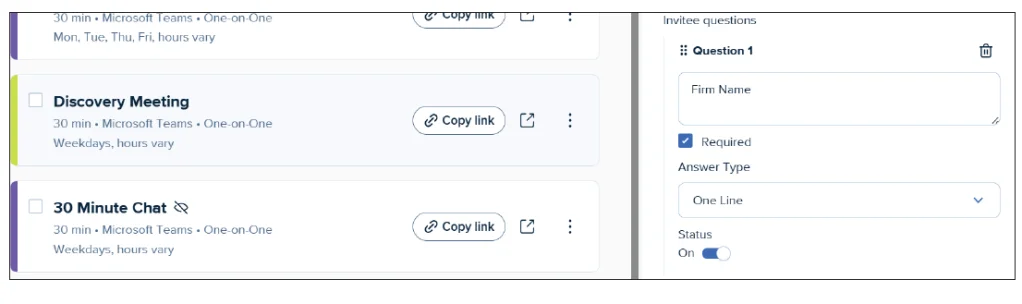
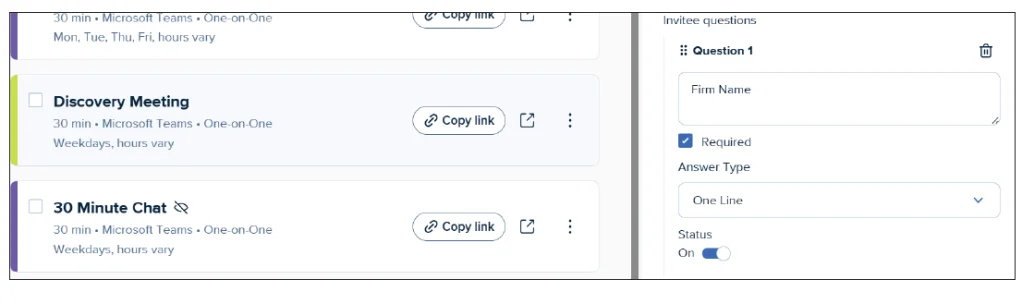
To get started, first ensure that you've set up your Discovery Meeting event in Calendly, including a form field for "Firm Name." This is essential as it will facilitate data entry into Pipedrive.
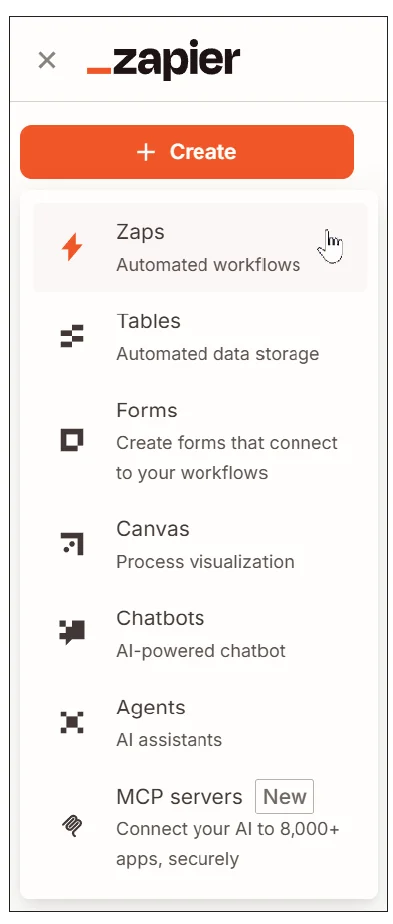
Log in to your Zapier account at zapier.com. If you don't have an account, you can easily sign up for a free trial. Once signed in, click on + Create in the top left corner and select "Zaps."
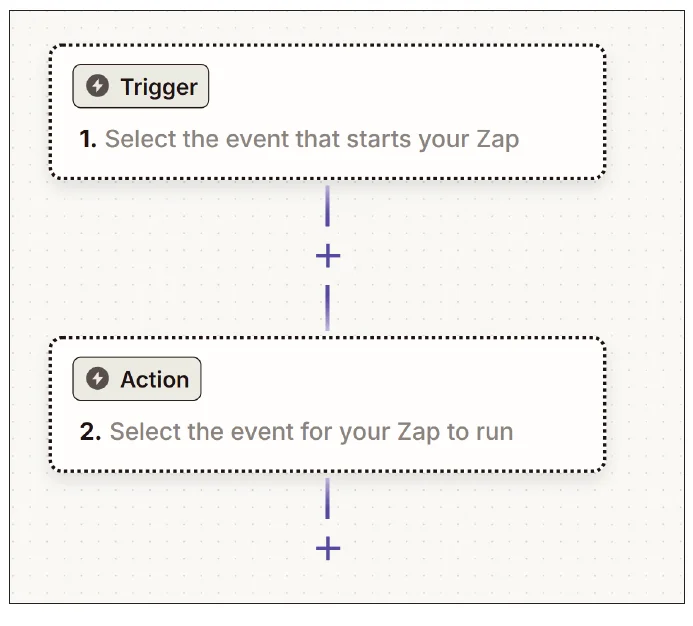
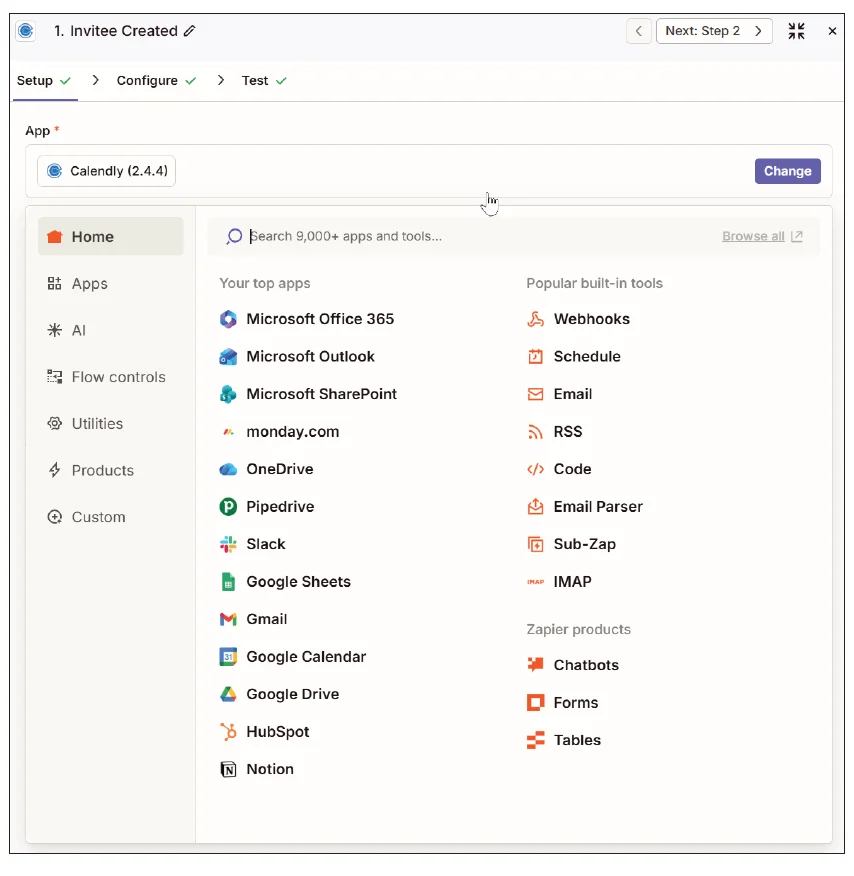
Upon entering the Zaps editor, you’ll be prompted to define a Trigger and an Action. Click on Trigger to choose the app that will initiate the automation. Search for “Calendly” and select it. This will bring up options for setting your Trigger event.
Configuring the Trigger
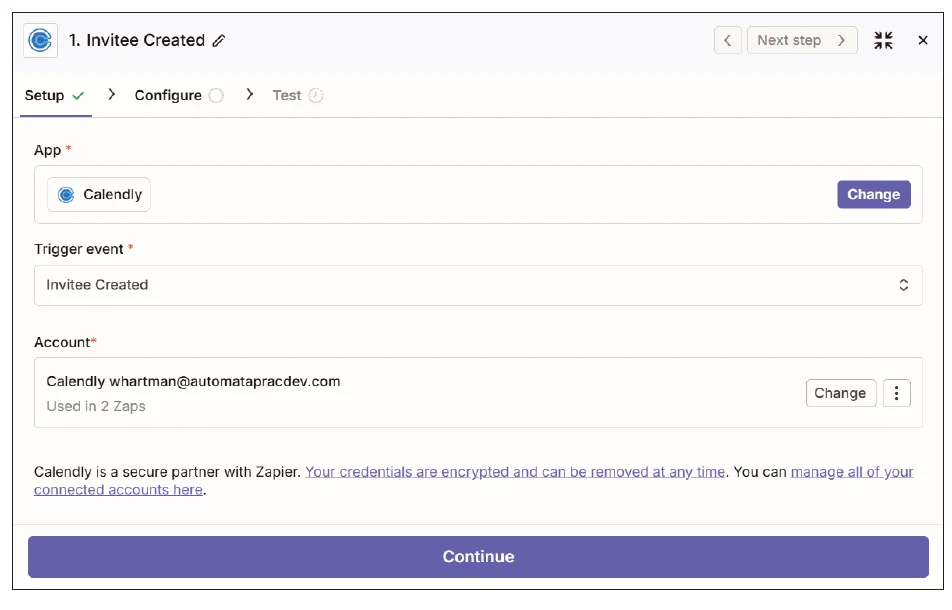
Select Invitee Created as the Trigger event, which signifies that a new invitee has scheduled a meeting. Connect your Calendly account by clicking Select, then proceed by clicking Continue.
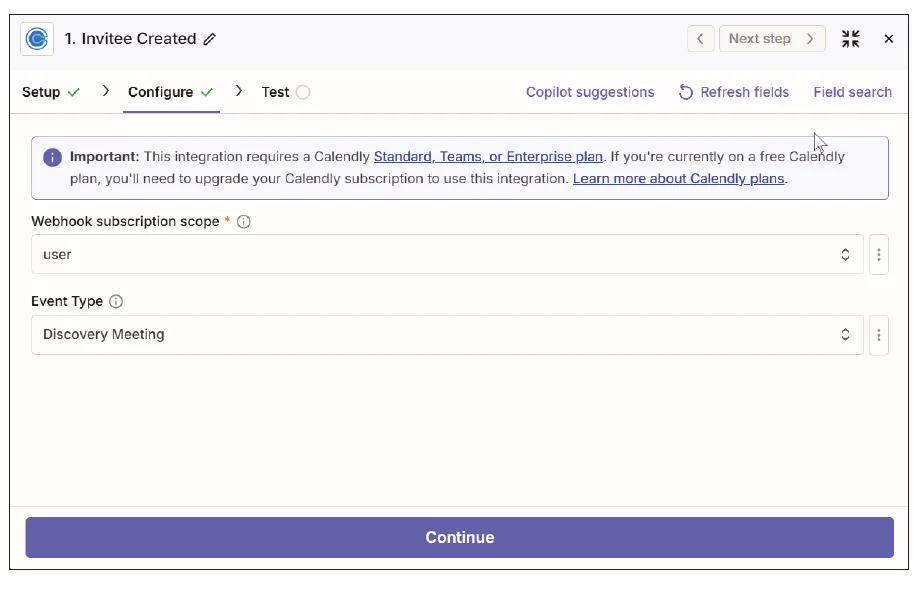
Next, you will configure the Trigger further. For the Webhook subscription scope, choose user, and for the Event Type, select your designated Discovery Meeting from the list. Click Continue to advance to the Test screen.
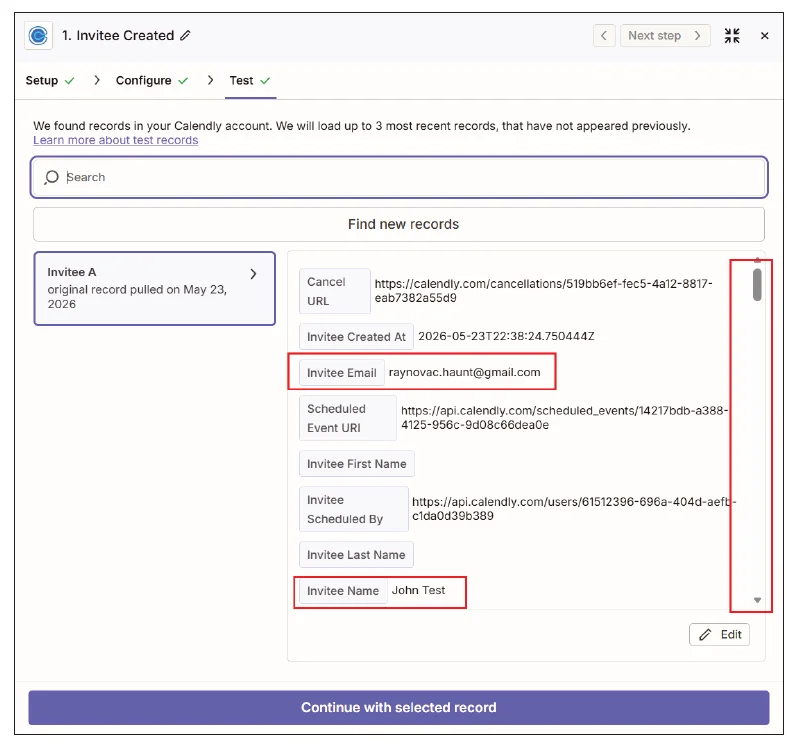
In order to run tests, Zapier needs a recent event to utilize as a sample. Generate a Discovery Meeting for yourself through Calendly using a personal email account. This will produce an event that Zapier can reference. Check the test screen to confirm that the invitee's email and name are recorded correctly.
Defining Actions within Pipedrive
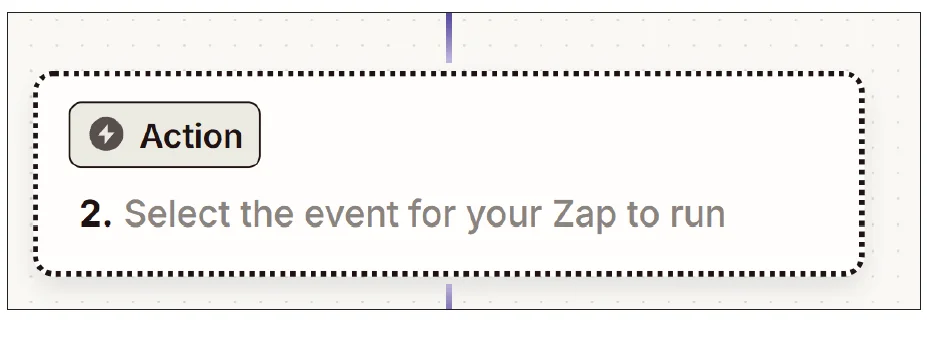
With your Trigger configured, the next step is to set Actions in Pipedrive. Click Action to prompt the app selection screen again. Search for and select Pipedrive as your new app.
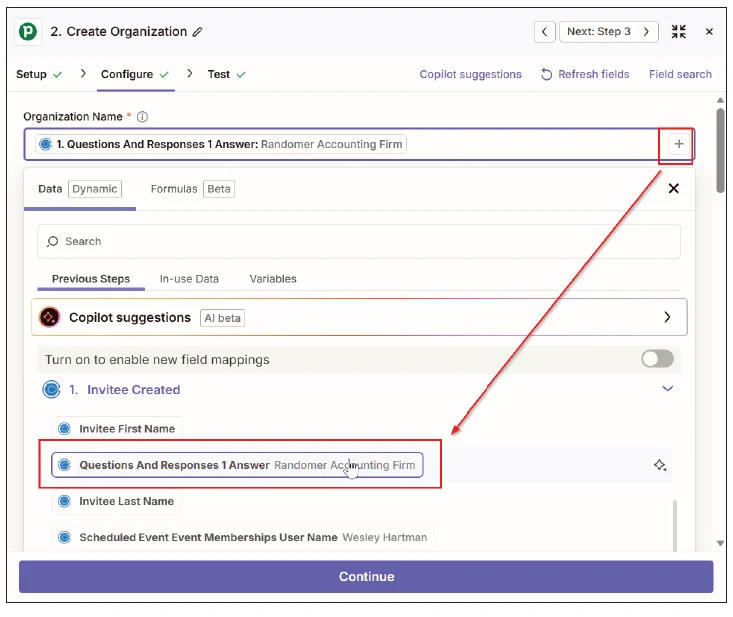
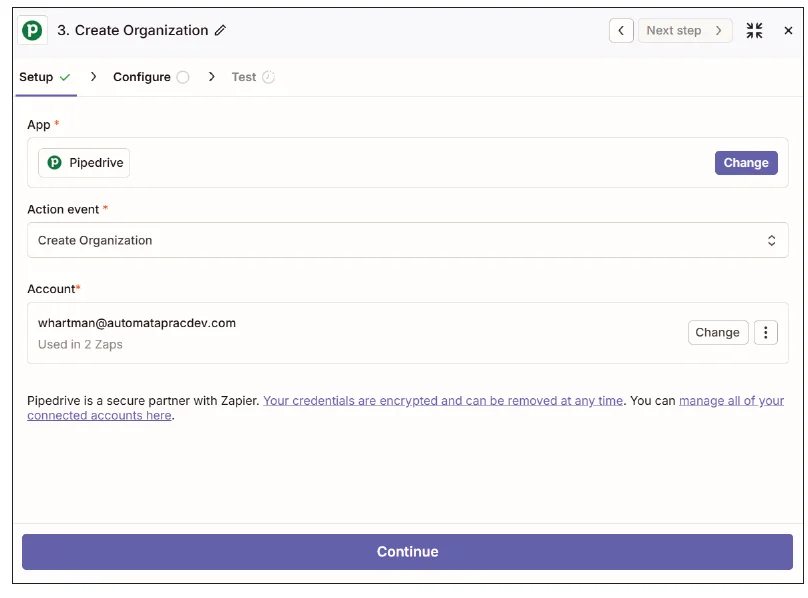
Select Create Organization as the Action event. After connecting to your Pipedrive account, click Continue to navigate to the Configure screen.
On this screen, for the Organization Name, click the + icon to populate the field with the Firm Name gathered from your Calendly form. Following this, click Continue and then Test.
Subsequently, check Pipedrive to verify that the organization was successfully created.
Adding Additional Details
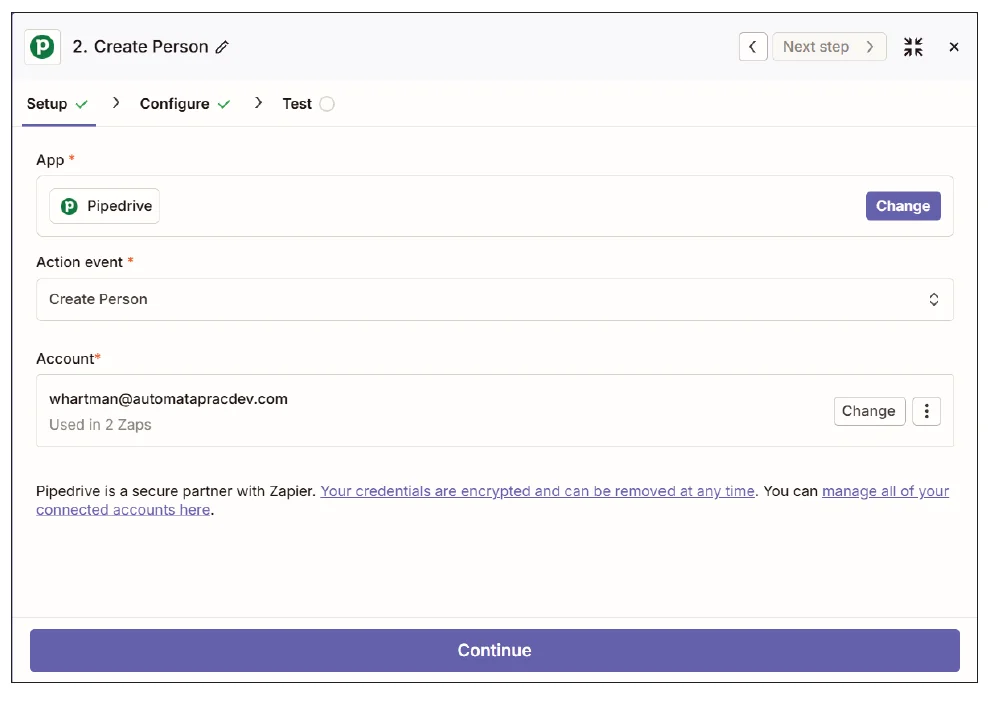
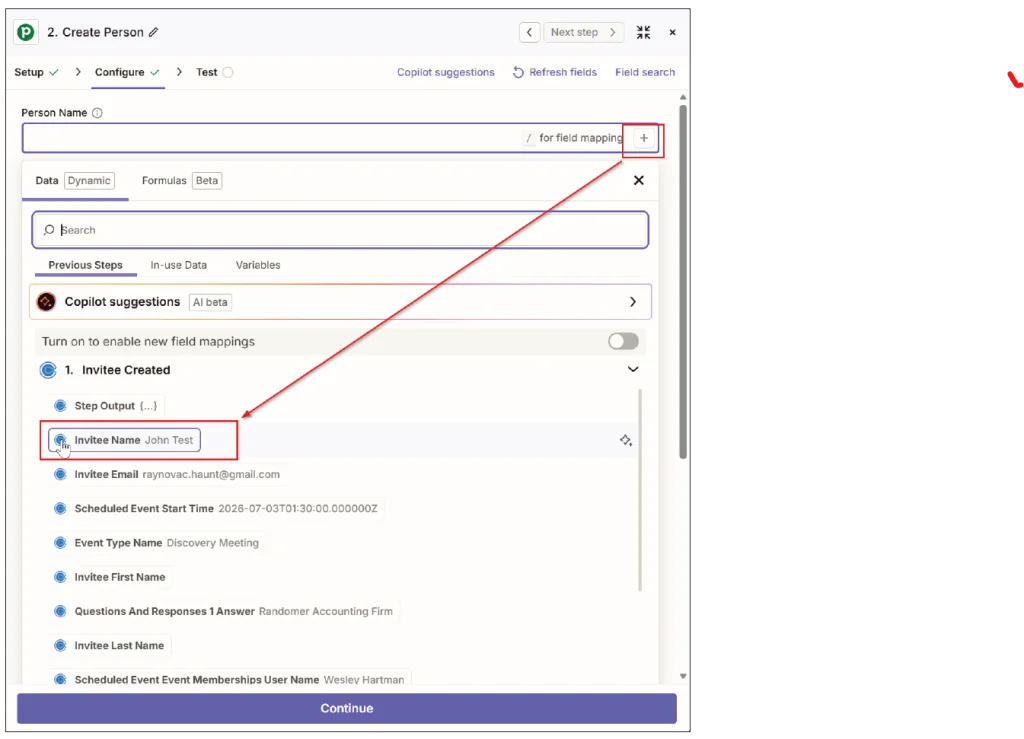
Next, you’ll add the person associated with this organization. Create another Action: select Pipedrive and choose Create Person as your Action event. Continue through to the configuration screen where you'll fill in fields for the person's name and email address.
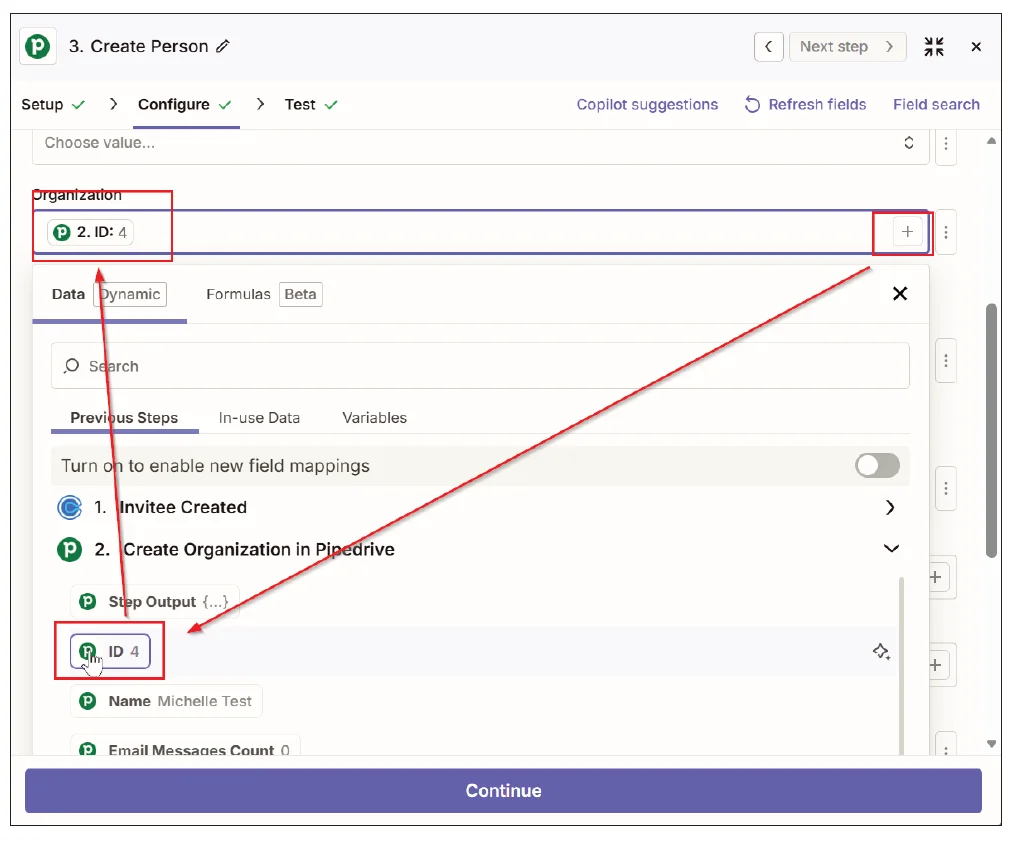
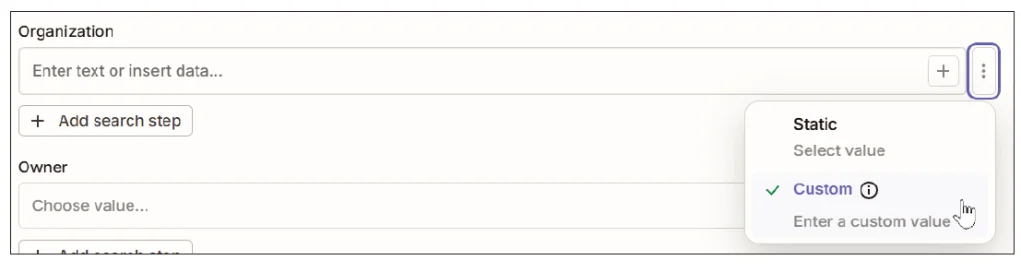
To link the person to the correct organization, ensure to change the Organization setting from “Static” to “Custom”. This is crucial as you’ll rely on the Organization ID previously created in the earlier step for this association.
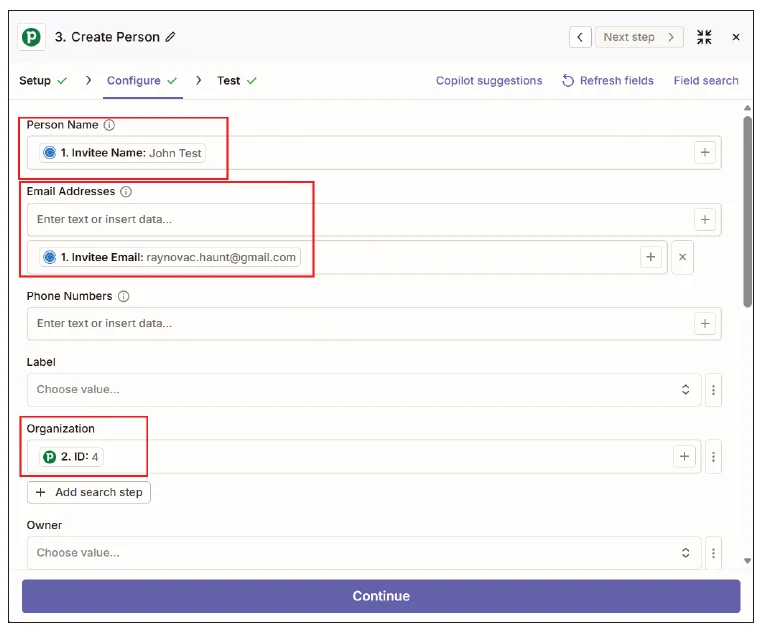
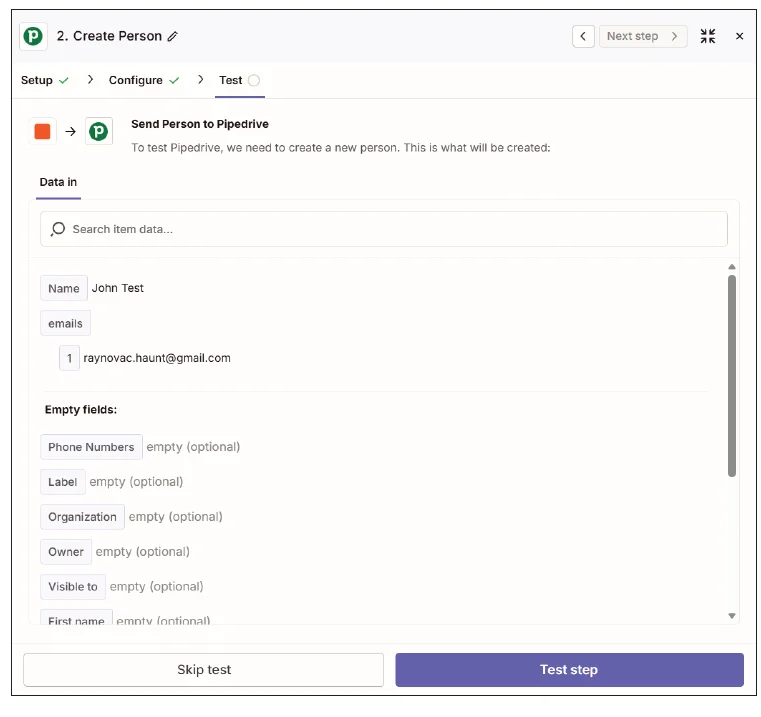
Once all the necessary fields are filled out, click Continue, run the test, and confirm that the person record appears in Pipedrive.
Creating a Deal
The final step is to create a deal in Pipedrive. Click Action, select Pipedrive again, and choose Create Deal. Input relevant details such as the Title—using the firm name—and any other fields like Status, Stage, and Pipeline.
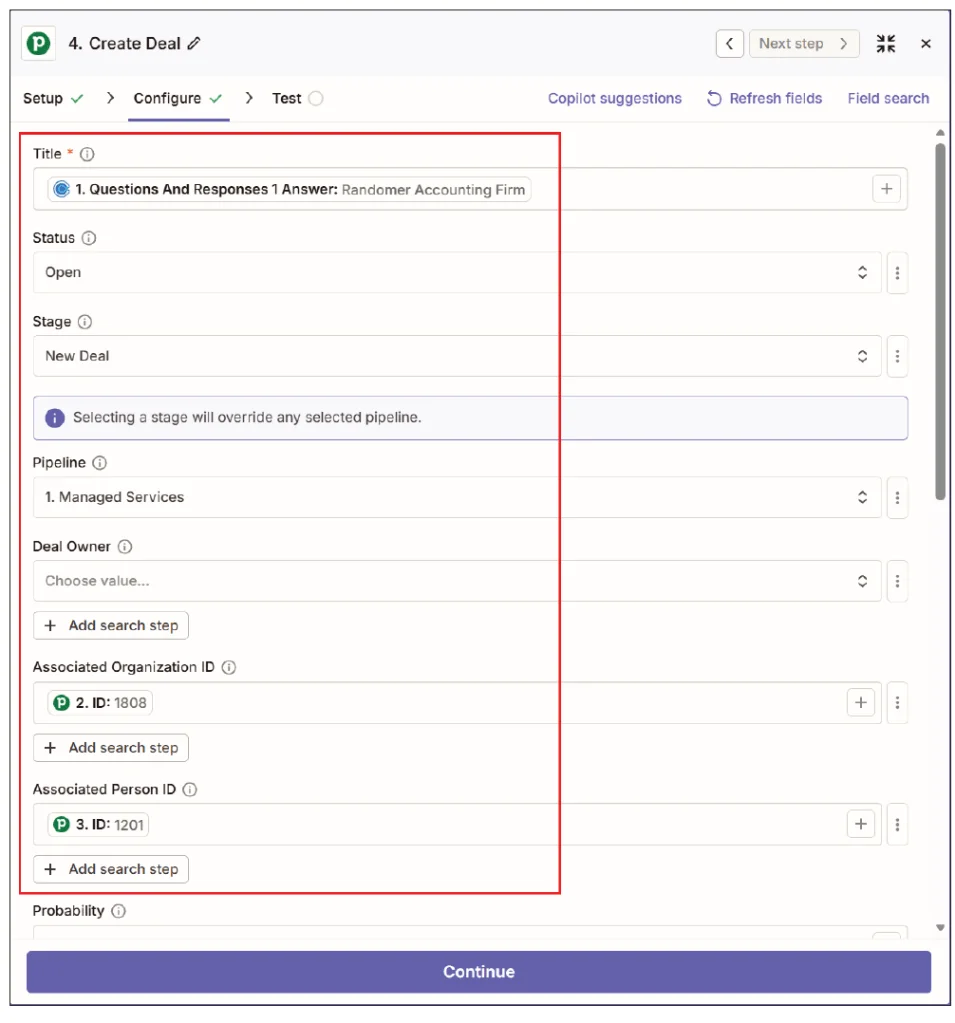
For Associated Organization ID and Associated Person ID fields, switch both to Custom, linking them to their corresponding IDs from the previous steps. Click Continue, run your test, and verify that the deal has been created accurately in Pipedrive.
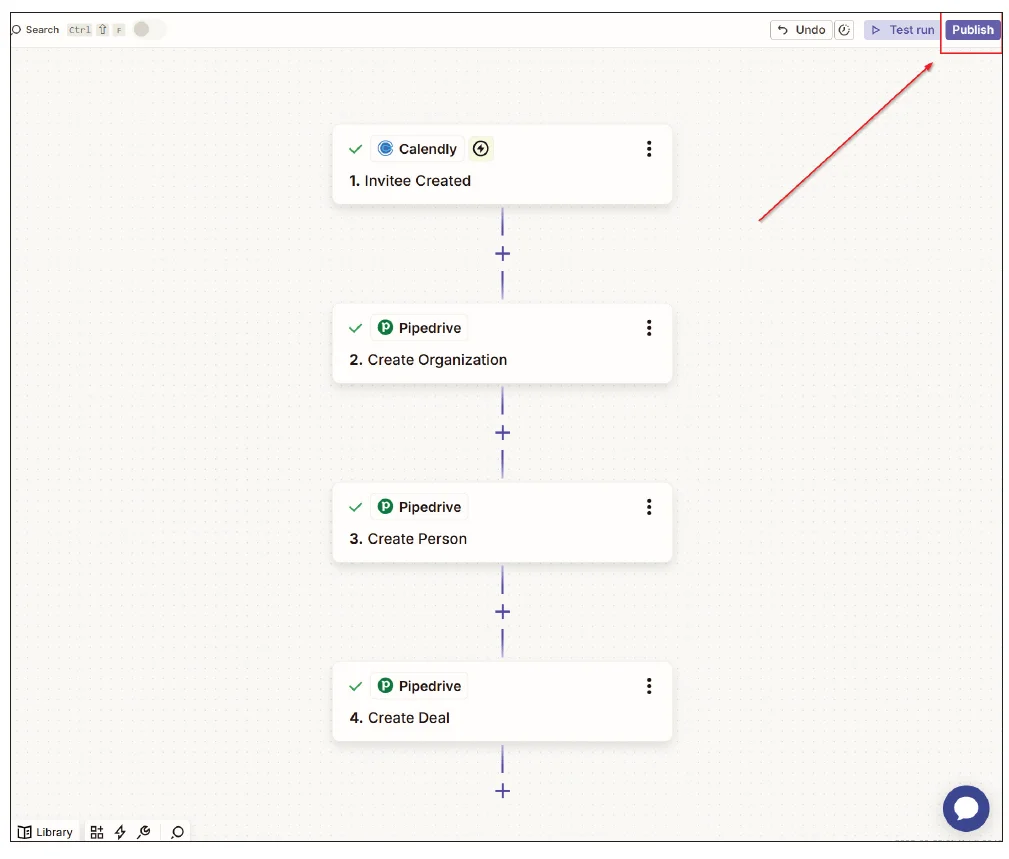
Publishing the Zap
Having tested all actions successfully, it’s time to publish your Zap. Click on the Publish button in the upper right corner. To ensure everything functions correctly at full scale, schedule another Discovery Meeting in Calendly using different test data.
By automating the data transfer from Calendly to Pipedrive, you reduce the manual input requirements significantly. This streamlined workflow enhances productivity and minimizes the risk of overlooked details. If there are additional applications where this information should be sent, consider adding more Actions to the Zap for expanded functionality.
About the author
Wesley Hartman is the founder of Automata Practice Development.
Submit a question
If you have technology-related questions, or suggestions for solutions after reading this, feel free to contact [email protected].